
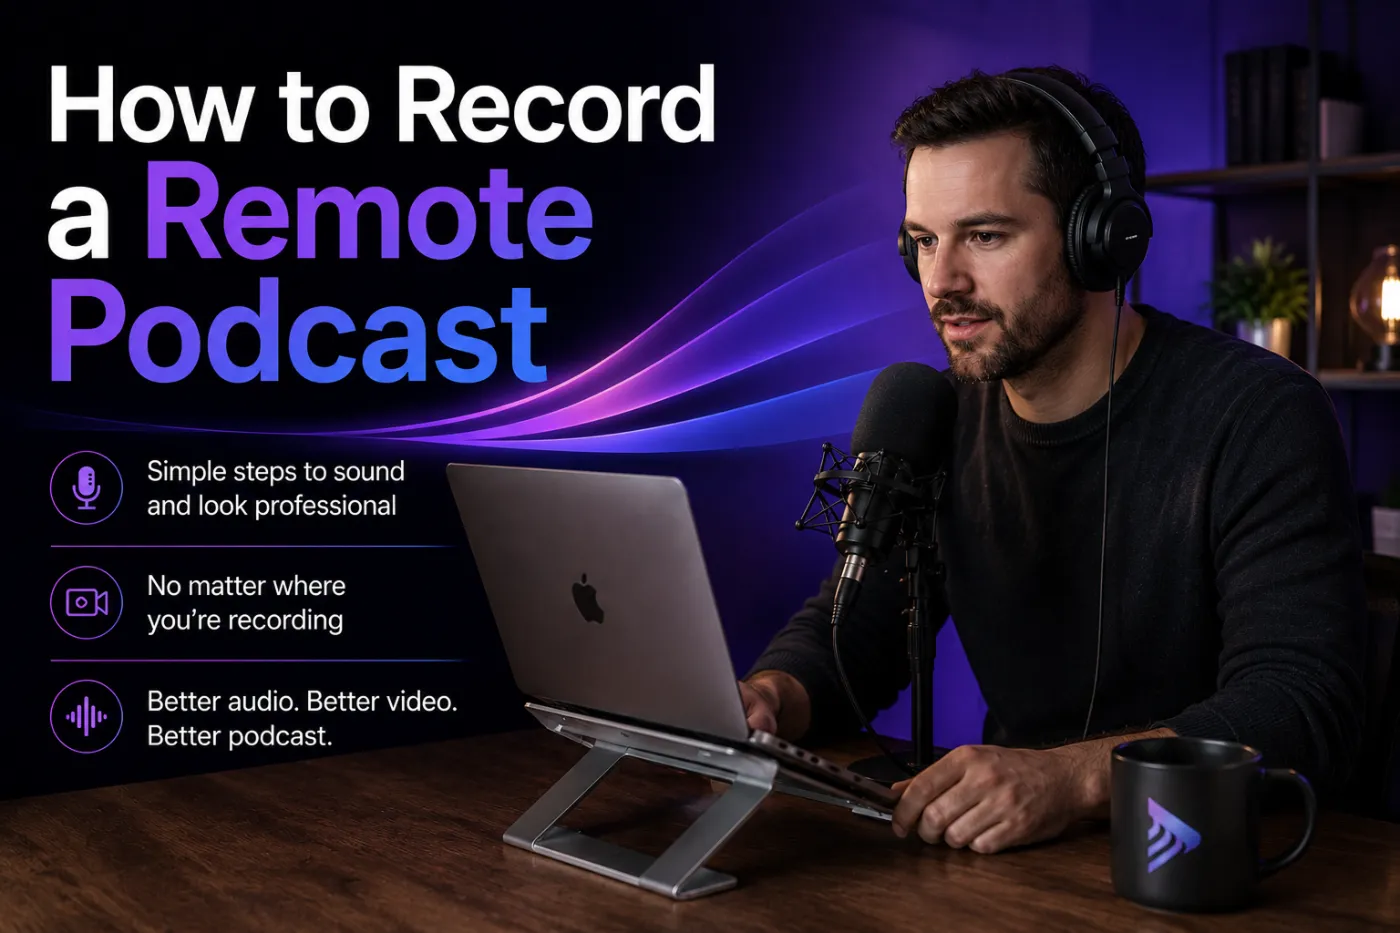
Remote podcasting has never been easier. Whether you're interviewing guests across the world or recording a co-host from another city, you no longer need a professional studio to create great content.
The challenge isn't recording remotely.
It's recording remotely well.
After producing hundreds of remote podcast interviews, we've found that a few simple decisions before you hit Record have a much bigger impact than expensive equipment or advanced editing.
In this guide, we'll show you exactly how to record a remote podcast that looks and sounds professional.
Choose the Right Remote Podcast Recording Platform
The platform you record with determines the quality of everything that follows.
Many video conferencing apps compress both the audio and video in real time to keep the call running smoothly. While that's perfect for meetings, it's not ideal for podcasts.
Instead, choose a platform that records each participant locally before uploading the files. This preserves much higher audio and video quality.
Look for features such as:
- Local recording
- Separate audio and video tracks
- HD or 4K video recording
- Automatic cloud uploads
- Browser-based recording
- Easy guest invitations
Use the Right Microphone
You don't necessarily need an expensive microphone.
In fact, one of the biggest mistakes podcast guests make is using AirPods or Bluetooth earbuds as their microphone.
These devices process your voice before it's recorded using:
- Noise suppression
- Echo cancellation
- Automatic gain control
- Compression
Great for meetings.
Not for podcasts.
Once this processing has been applied, your editor can't restore your natural voice.
Better options:
- USB microphone
- XLR microphone
- Laptop's built-in microphone (if you don't own an external microphone)
Surprisingly, a laptop microphone often produces a more natural recording than wireless earbuds.
Wear Headphones
Even if you're not using headphones as your microphone, you should still wear them while recording.
Without headphones, the sound from your speakers is picked up by your microphone, forcing software to apply aggressive echo cancellation.
The result is often:
- Muffled voices
- Artificial sounding audio
- Lower overall quality
Almost everyone already owns a pair of headphones, so there's really no reason not to use them.
Record in HD (Or Higher)
Whenever possible, record in at least 1080p.
If your camera supports 4K recording, even better.
Higher-resolution recordings provide:
- Sharper video
- More flexibility when editing
- Better crops for social media clips
- More professional-looking interviews
Raise Your Camera
One of the quickest ways to improve your video is simply raising your laptop.
Don't leave it flat on the desk.
Instead:
- Position the camera at eye level.
- Sit around an arm's length away.
- Leave a small amount of space above your head.
A couple of books underneath your laptop is often all you need.
Avoid Virtual Backgrounds
Virtual backgrounds may seem convenient, but they almost always reduce video quality.
They often introduce:
- Blurry edges
- Flickering around hair
- Artificial-looking video
- Compression artefacts
A real background will almost always look more professional.
If you prefer some privacy, a slight background blur is a much better alternative.
Use Good Lighting
Lighting matters more than camera quality.
The easiest improvement? Face a window.
Natural light creates a much cleaner image than sitting with a bright window behind you.
Avoid:
- Strong backlighting
- Overhead-only lighting
- Dark rooms
Good lighting allows your camera to capture much more detail.
Disable Automatic Audio Processing
Many recording platforms enable features like:
- Noise reduction
- Echo cancellation
- Voice enhancement
- Automatic gain control
These are designed for online meetings-not professional productions.
Whenever possible, disable these features and record the original audio.
A professional editor has far more control working with raw files than heavily processed recordings.
Close Unnecessary Applications
Before recording:
- Close unnecessary browser tabs.
- Quit heavy applications.
- Pause cloud backups.
- Disable software updates.
This reduces CPU usage and helps prevent dropped frames or recording issues.
Check Your Internet Connection
Although local recording protects your final recording quality, a stable internet connection still improves the interview experience.
Whenever possible:
- Use Ethernet.
- Sit close to your Wi-Fi router.
- Ask others in your home to avoid large downloads during recording.
Prepare Your Guest
Great interviews start before recording begins.
Send your guest a simple checklist:
- Wear headphones.
- Don't use Bluetooth earbuds as the microphone.
- Raise the camera.
- Face a window.
- Turn off virtual backgrounds.
- Find a quiet room.
- Join five minutes early.
Those few minutes of preparation can dramatically improve the final episode.
Edit Your Podcast Professionally
Recording is only the first step.
Professional podcast editing can include:
- Audio cleanup
- Colour correction
- Camera switching
- Intro and outro editing
- Show notes
- Clips for social media
- Publishing
The better your original recording, the better your final podcast will look and sound.
Final Thoughts
Learning how to record a remote podcast isn't about buying expensive gear.
It's about avoiding the small mistakes that quietly reduce quality before your editor even opens the project.
With the right recording platform, a simple setup, and a few minutes of preparation, you can produce remote podcast interviews that look and sound every bit as professional as an in-person recording.